
Fungineers provide a wealth of information for new owners of a Funwheel X7, including their User Guides and Jay is Doing Stuff videos. All the information is well worth careful studying but can take weeks to grasp and digest. So for anyone who has just received their first X7 and not already familiar with the wide world of VESC here is a quick start guide to help you get riding quickly while you’re still working through all the documentation and tutorials.
Unpacking
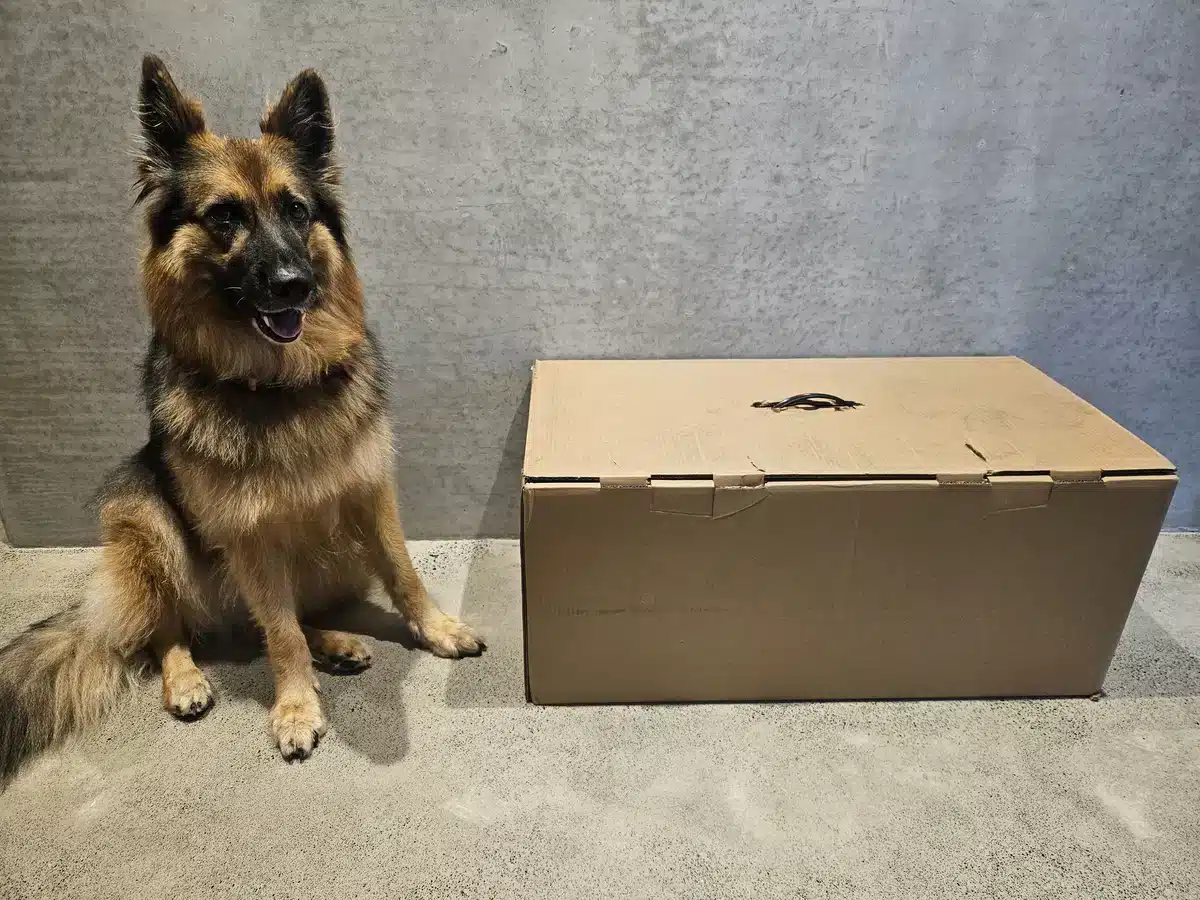
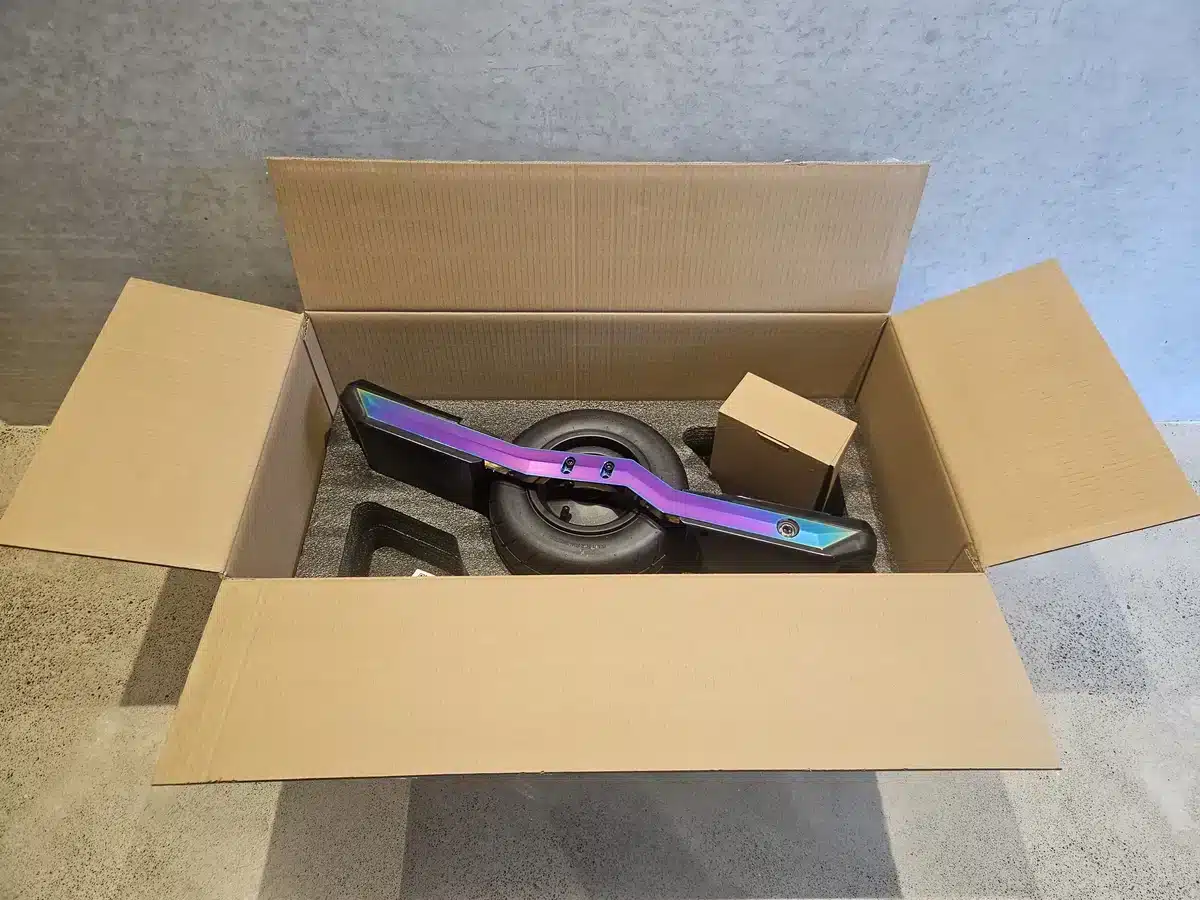
Check the package when it arrives and open it up. It should contain a new X7, charger with IEC power cable, some Fungineers stickers for you to paste everywhere to help promote the most awesome onewheel, and a QR code linking to the User Guides.
Connect the X7 to the charger and let it fully charge. Pump up the tyre pressure to between 15 and 20 psi (103 to 138 kPa). Lower pressure gives a softer ride (more stability and traction) whereas higher pressure gives a firmer ride (more nimble/carvy and better range), but the suitable pressure is also proportional to the rider weight. As a rough approximation for a suitable psi divide the rider weight in kg by 5 for a very soft ride or by 4 for a very firm ride.
VESC Tool
The Vedder Electronic Speed Controller (VESC) is an open-source ESC designed by Benjamin Vedder for controlling motors used in many different devices including robots, drones, planes, camera gimbals, e-bikes, electric skateboards, and RC equipment. With the additional open-source Refloat package for self-balancing skateboards VESC can also be used to control onewheels, allowing extensive customisable configurations to be saved as tunes. The X7 comes with the VESC and Refloat software already installed and configured. Riders are advised to not update the VESC and Refloat software versions on their board unless they are already quite experienced with how the packages work.
The VESC Tool app (Free version available for Linux, Windows, Android, Mac but connection via Bluetooth can be challenging), VESC Tool Android app (US$6.99 one time purchase) and VESC Tool iOS app (US$3.99 one time purchase) are applications for communicating and configuring the VESC and Refloat packages. It is a complex application with many configurations, and misusing it can result in an unrideable board, so care should be used changing anything while still learning about its features. Mostly VESC Tool is used to reinstall software, configure and calibrate the motor, IMU, and modify Refloat settings (many choose instead the convenient Float Hub app to configure boards), but they should already all be appropriately configured for a new X7. However, it is still useful to be familiar with a few initial features of VESC Tool.
Connect to the X7 Using VESC Tool
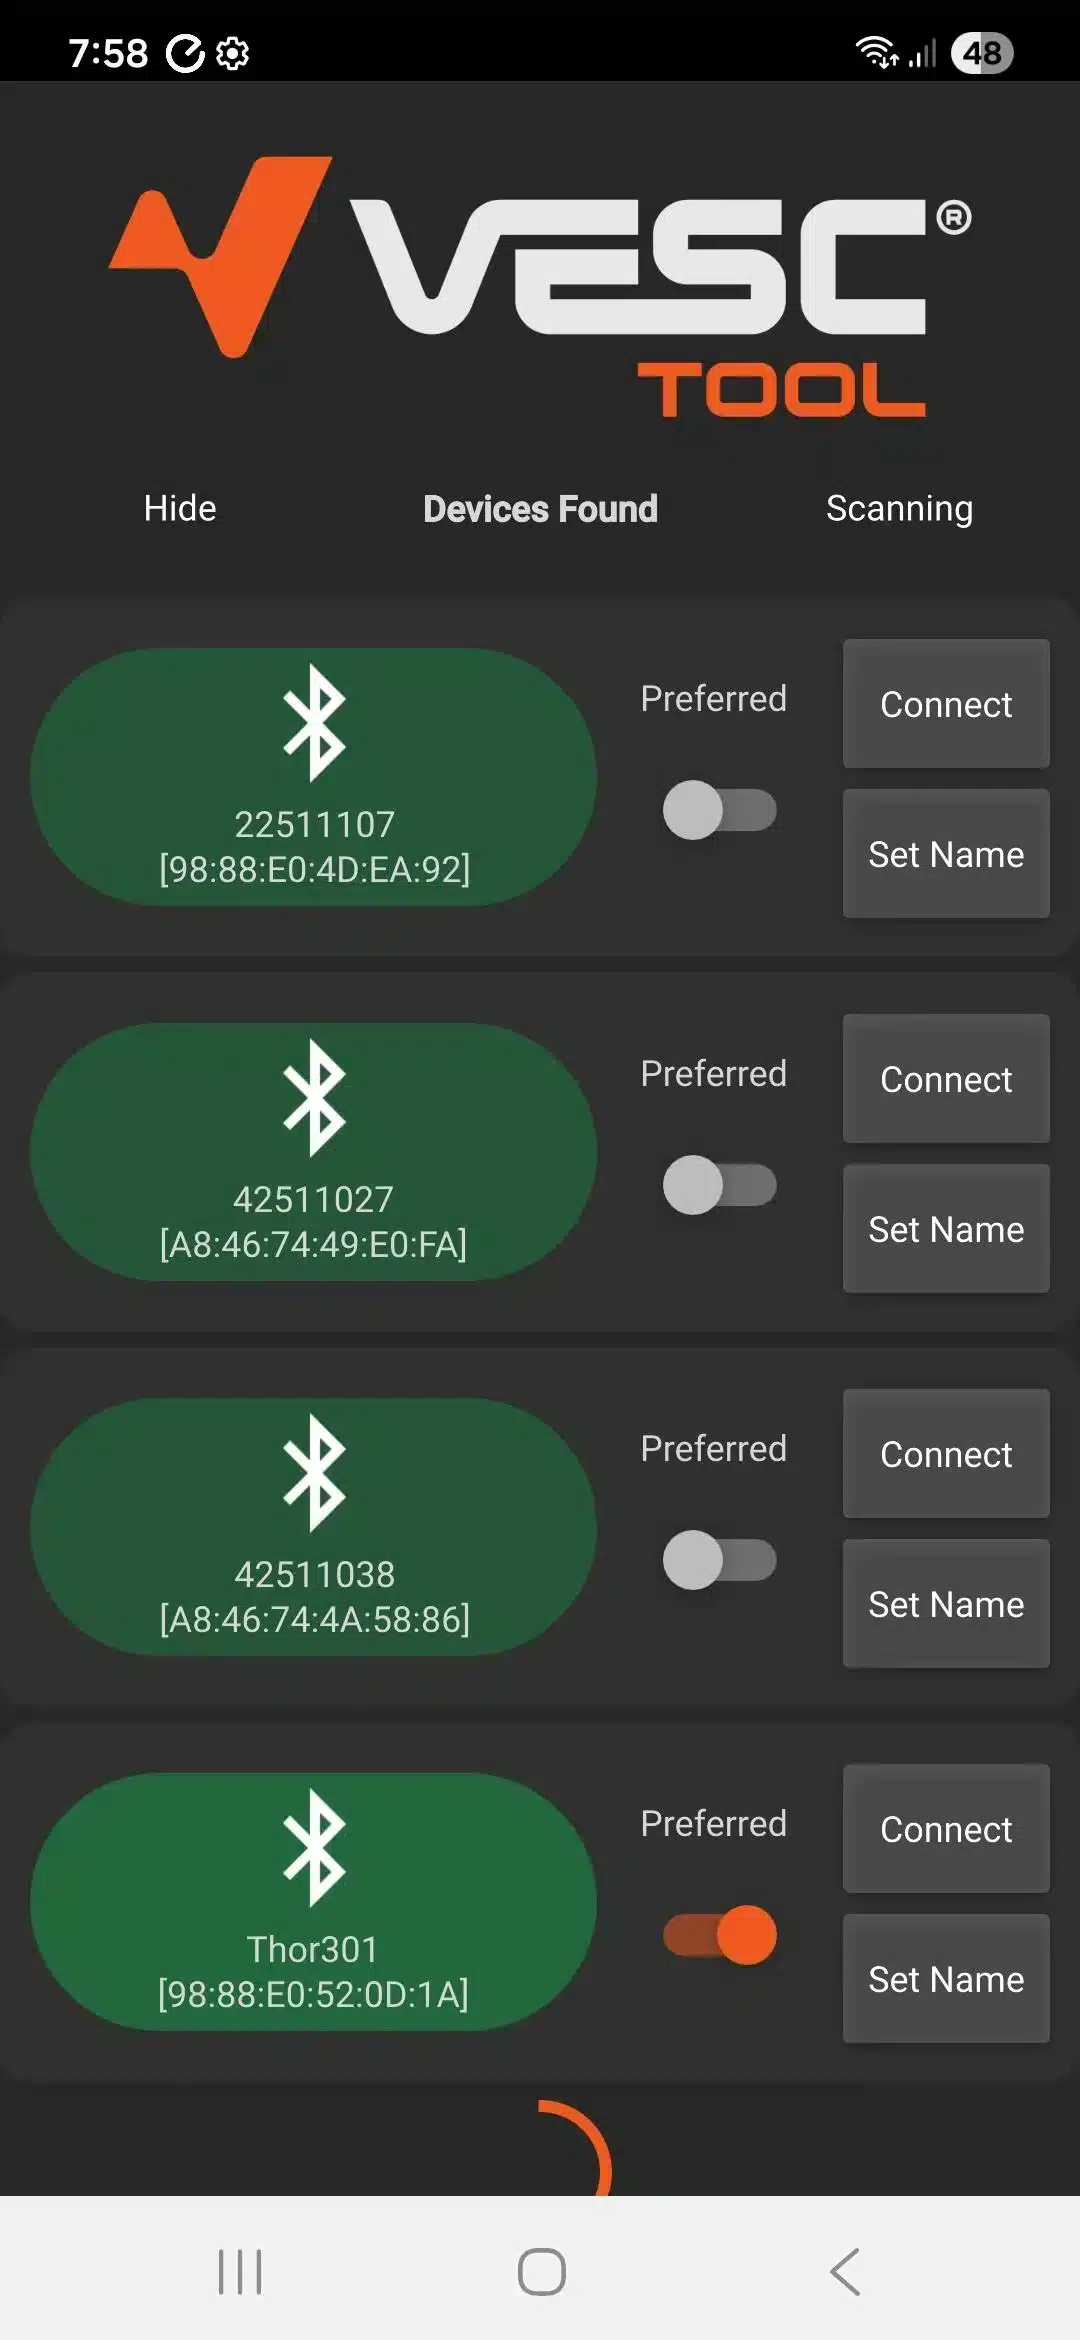
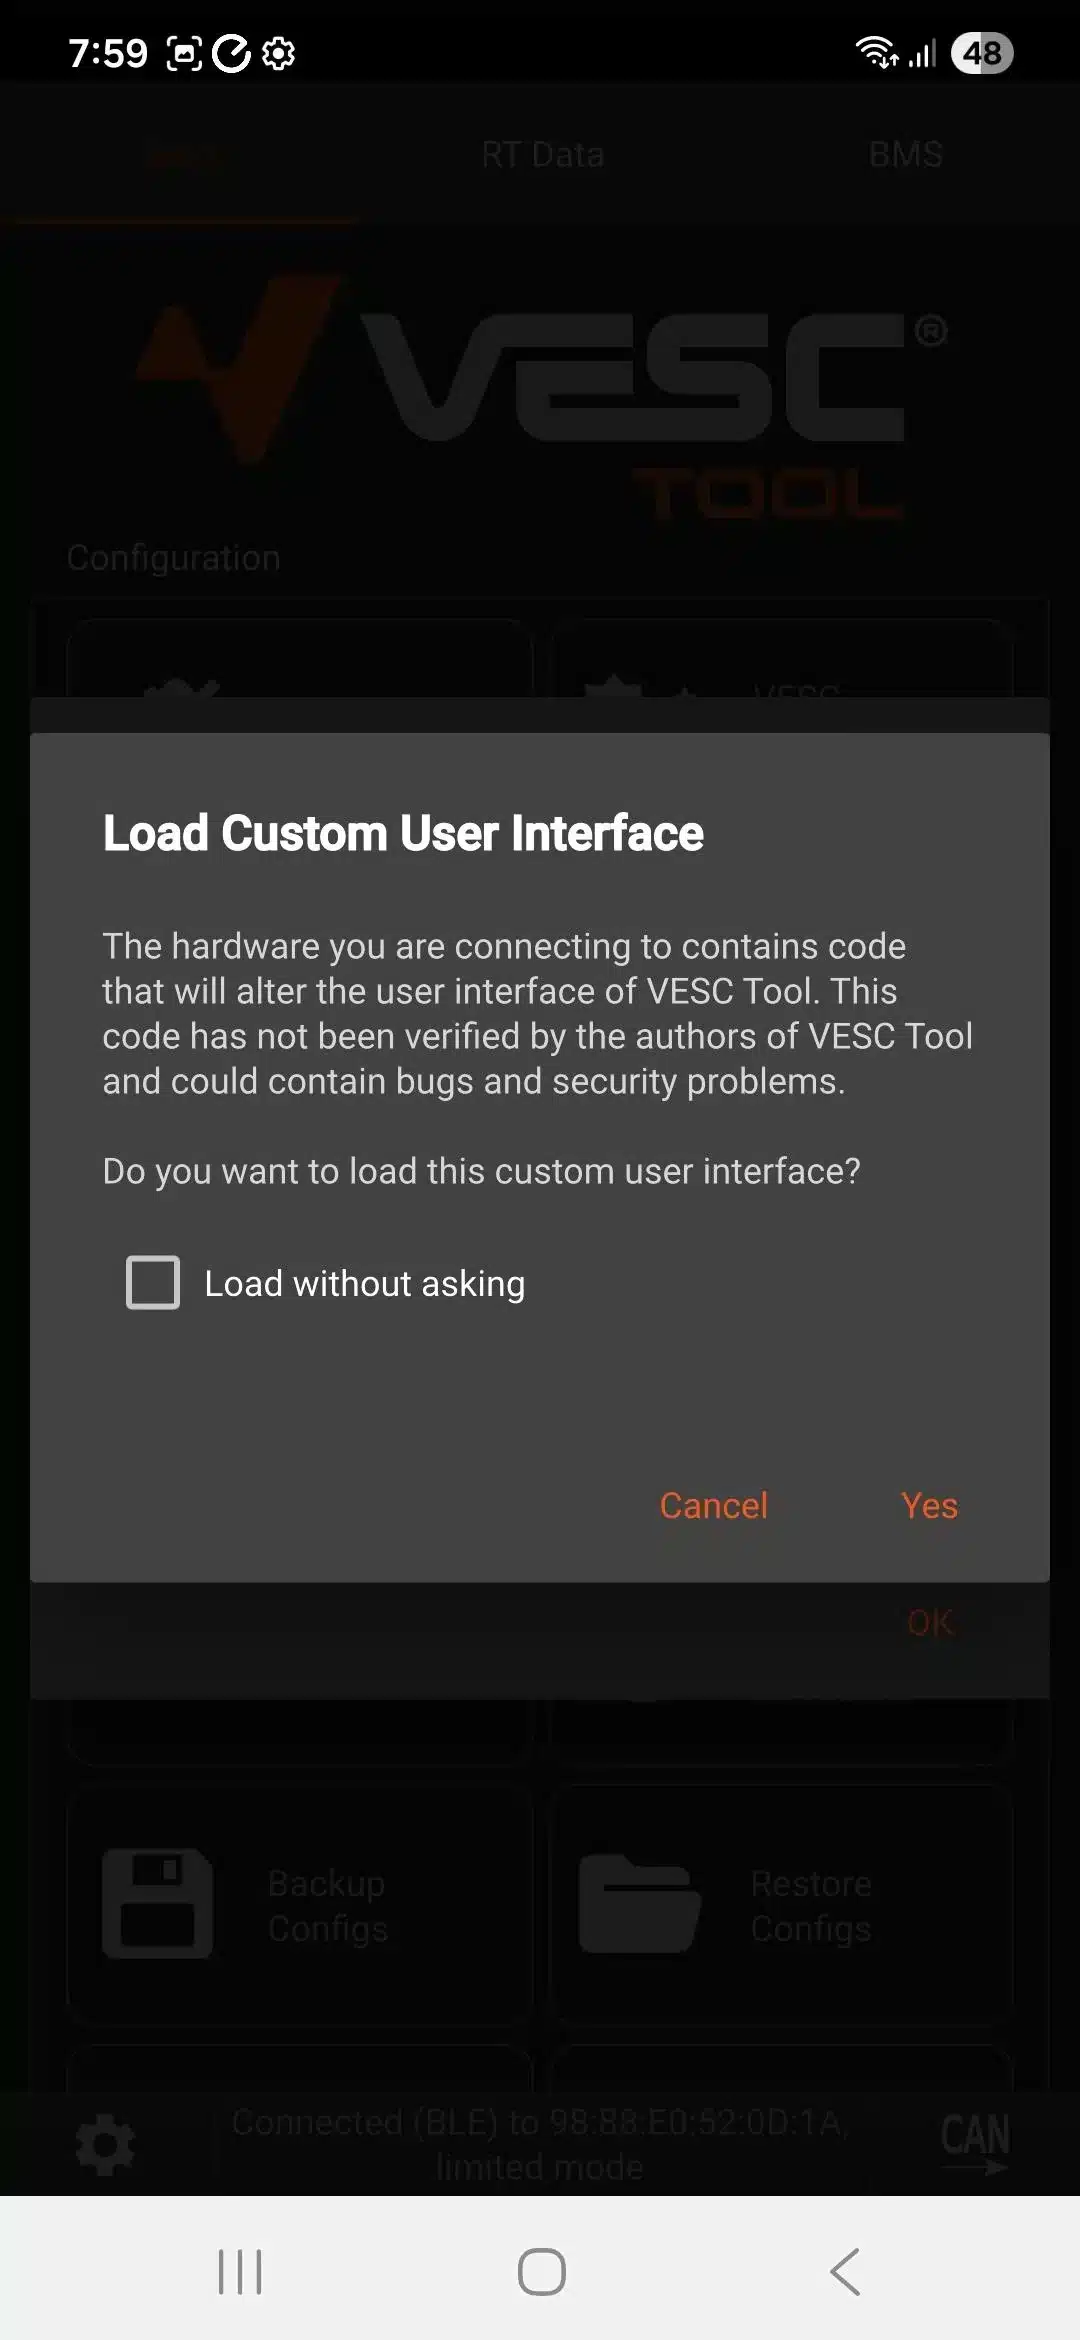
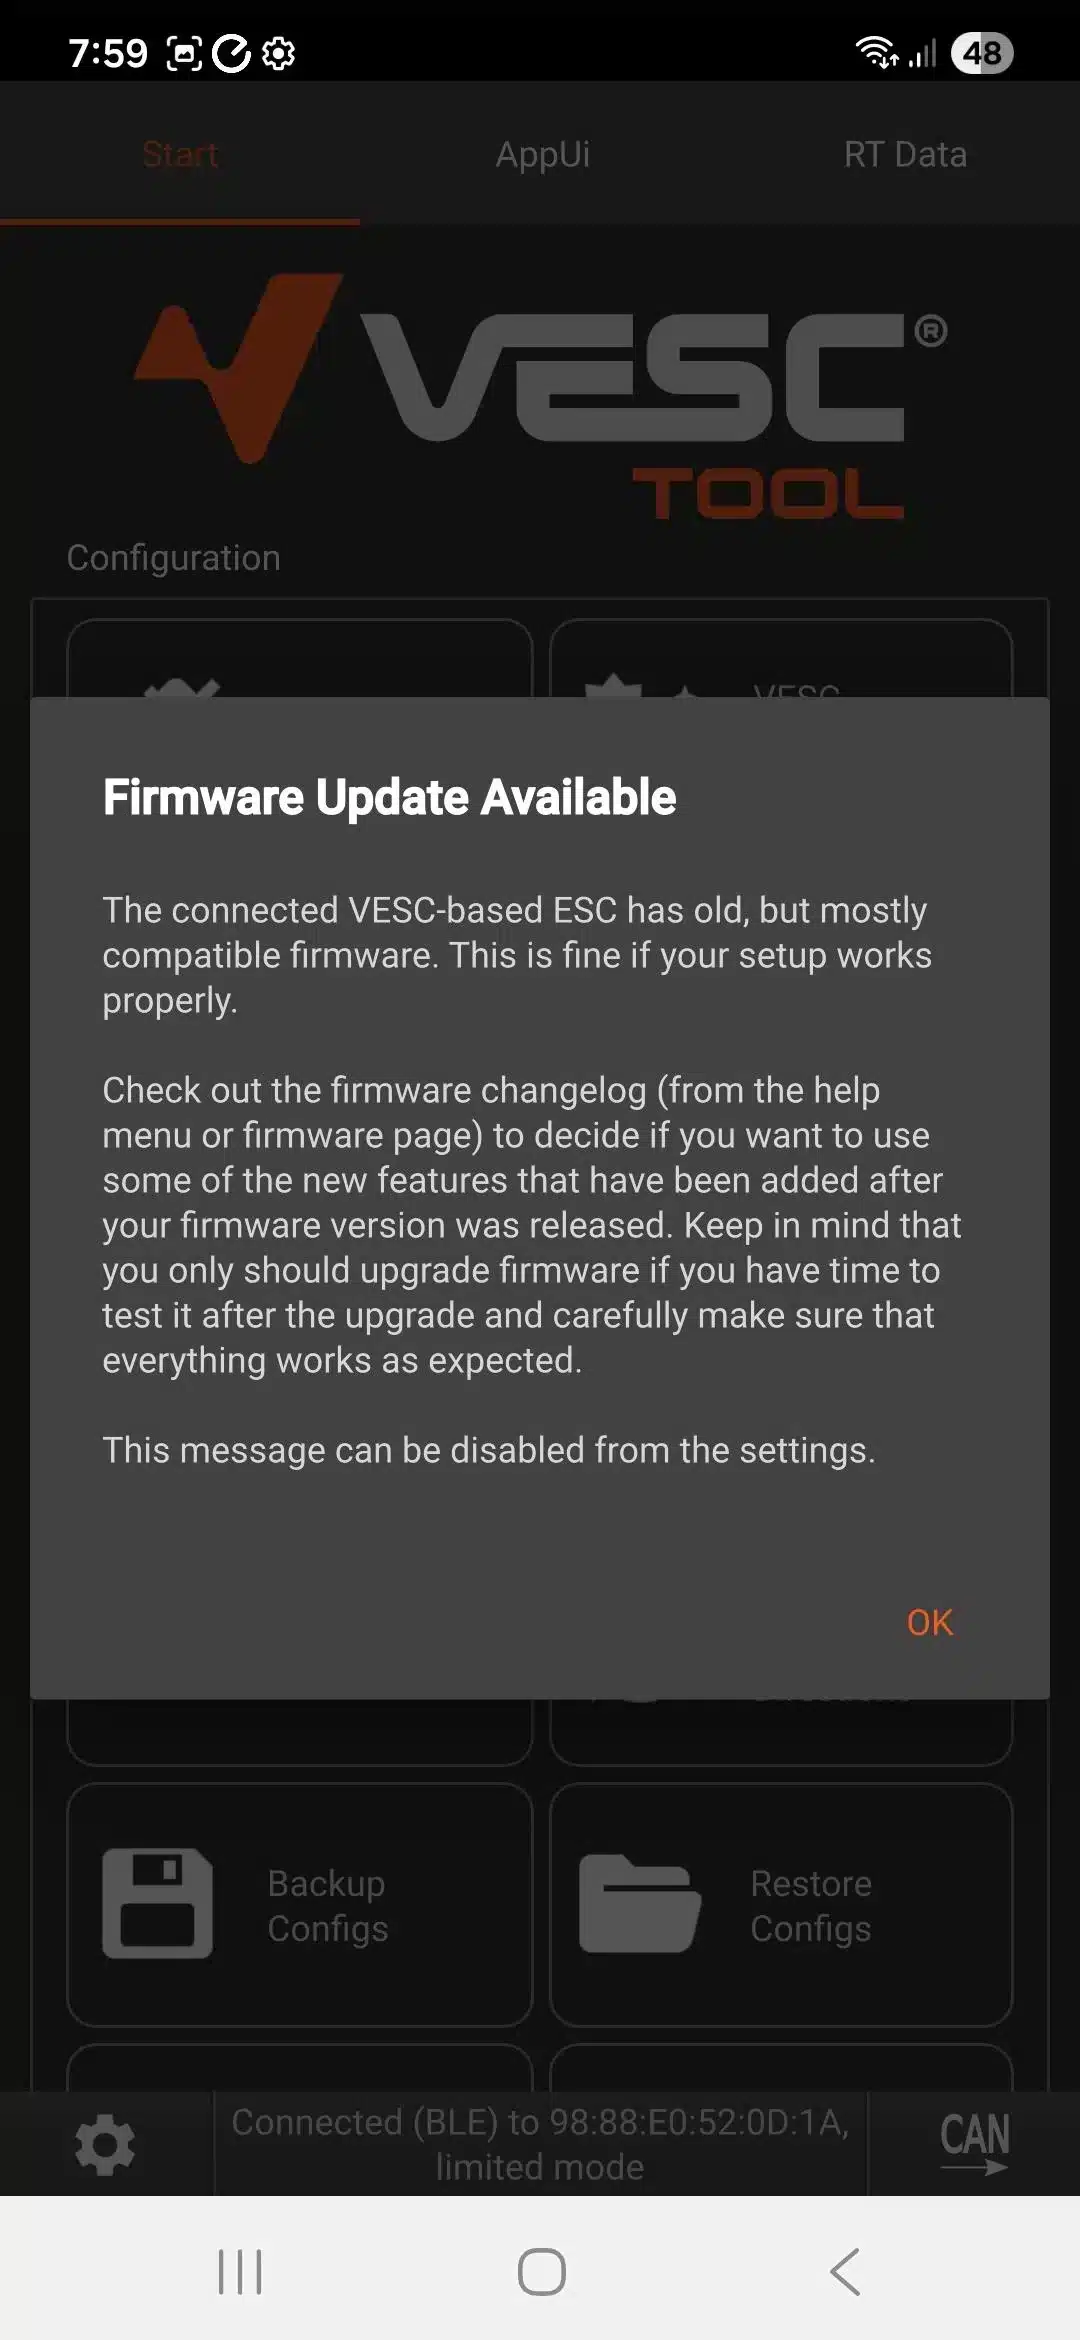
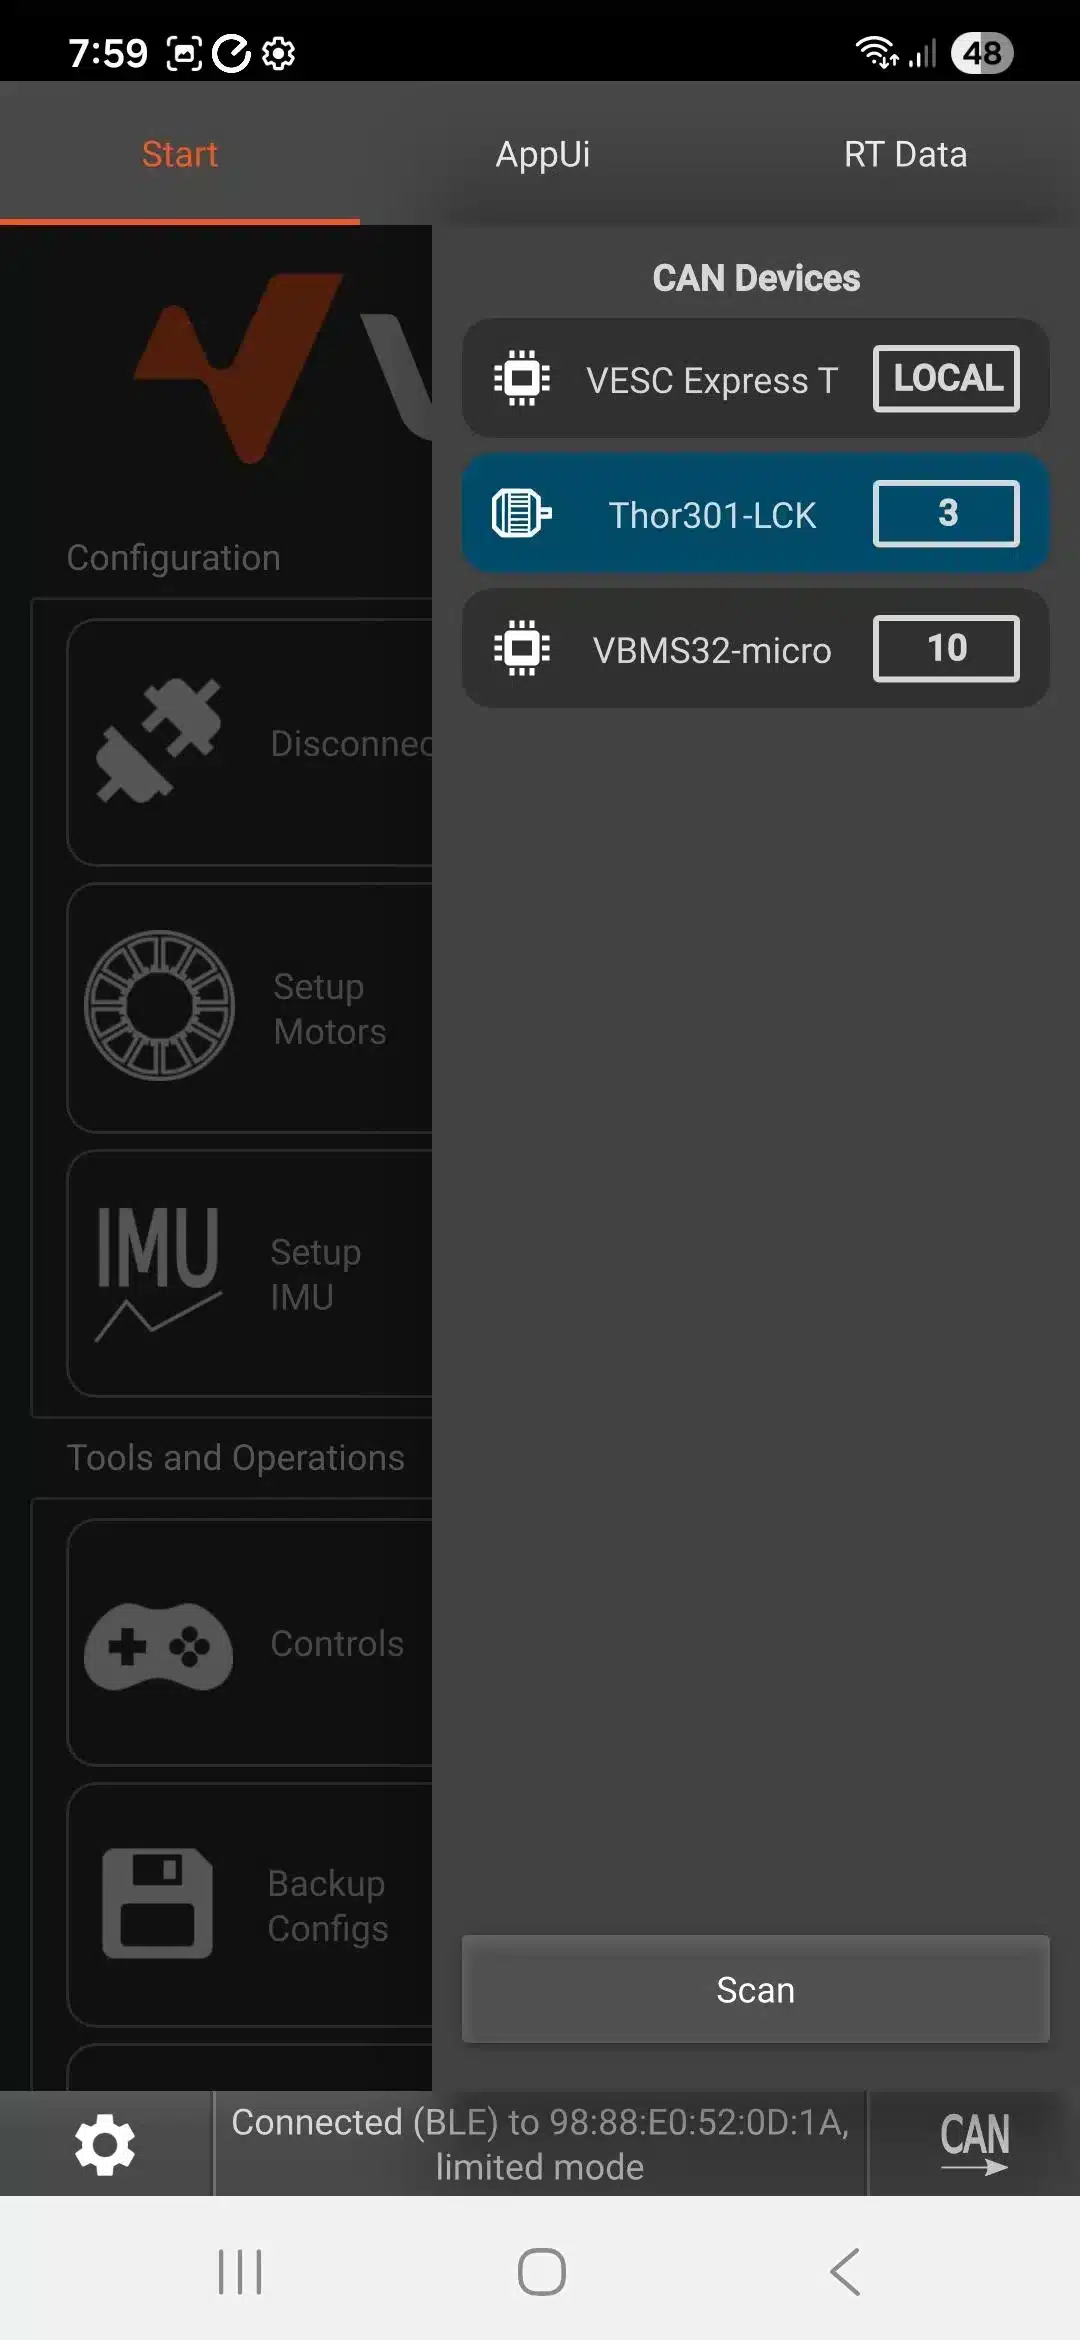
First install one of the VESC Tool mobile apps, enable Bluetooth and grant the VESC Tool app permission to use Bluetooth on the mobile. When the VESC Tool app is started it will scan for nearby Bluetooth devices. If the X7 is turned on then at least three devices will be found, including the Thor301 motor controller which has the VESC and Refloat software preinstalled (it will also find the VESC BMS, the VESC Express Bluetooth device and any other nearby devices). Select the Thor301 as preferred and connect to it. VESC Tool will connect and discover the Refloat software is also installed on the X7, so will ask whether it should display a custom interface (tick “Load without asking” and select Yes to accept). VESC Tool may alert that your X7 VESC software version is not the most recent (just click OK to acknowledge the message but please do not go through any process to update the software). You can check which of the Bluetooth devices on the X7 you are connected to by clicking the CAN button in the bottom right corner and checking it is the Thor301.
Back up the X7 Factory Settings
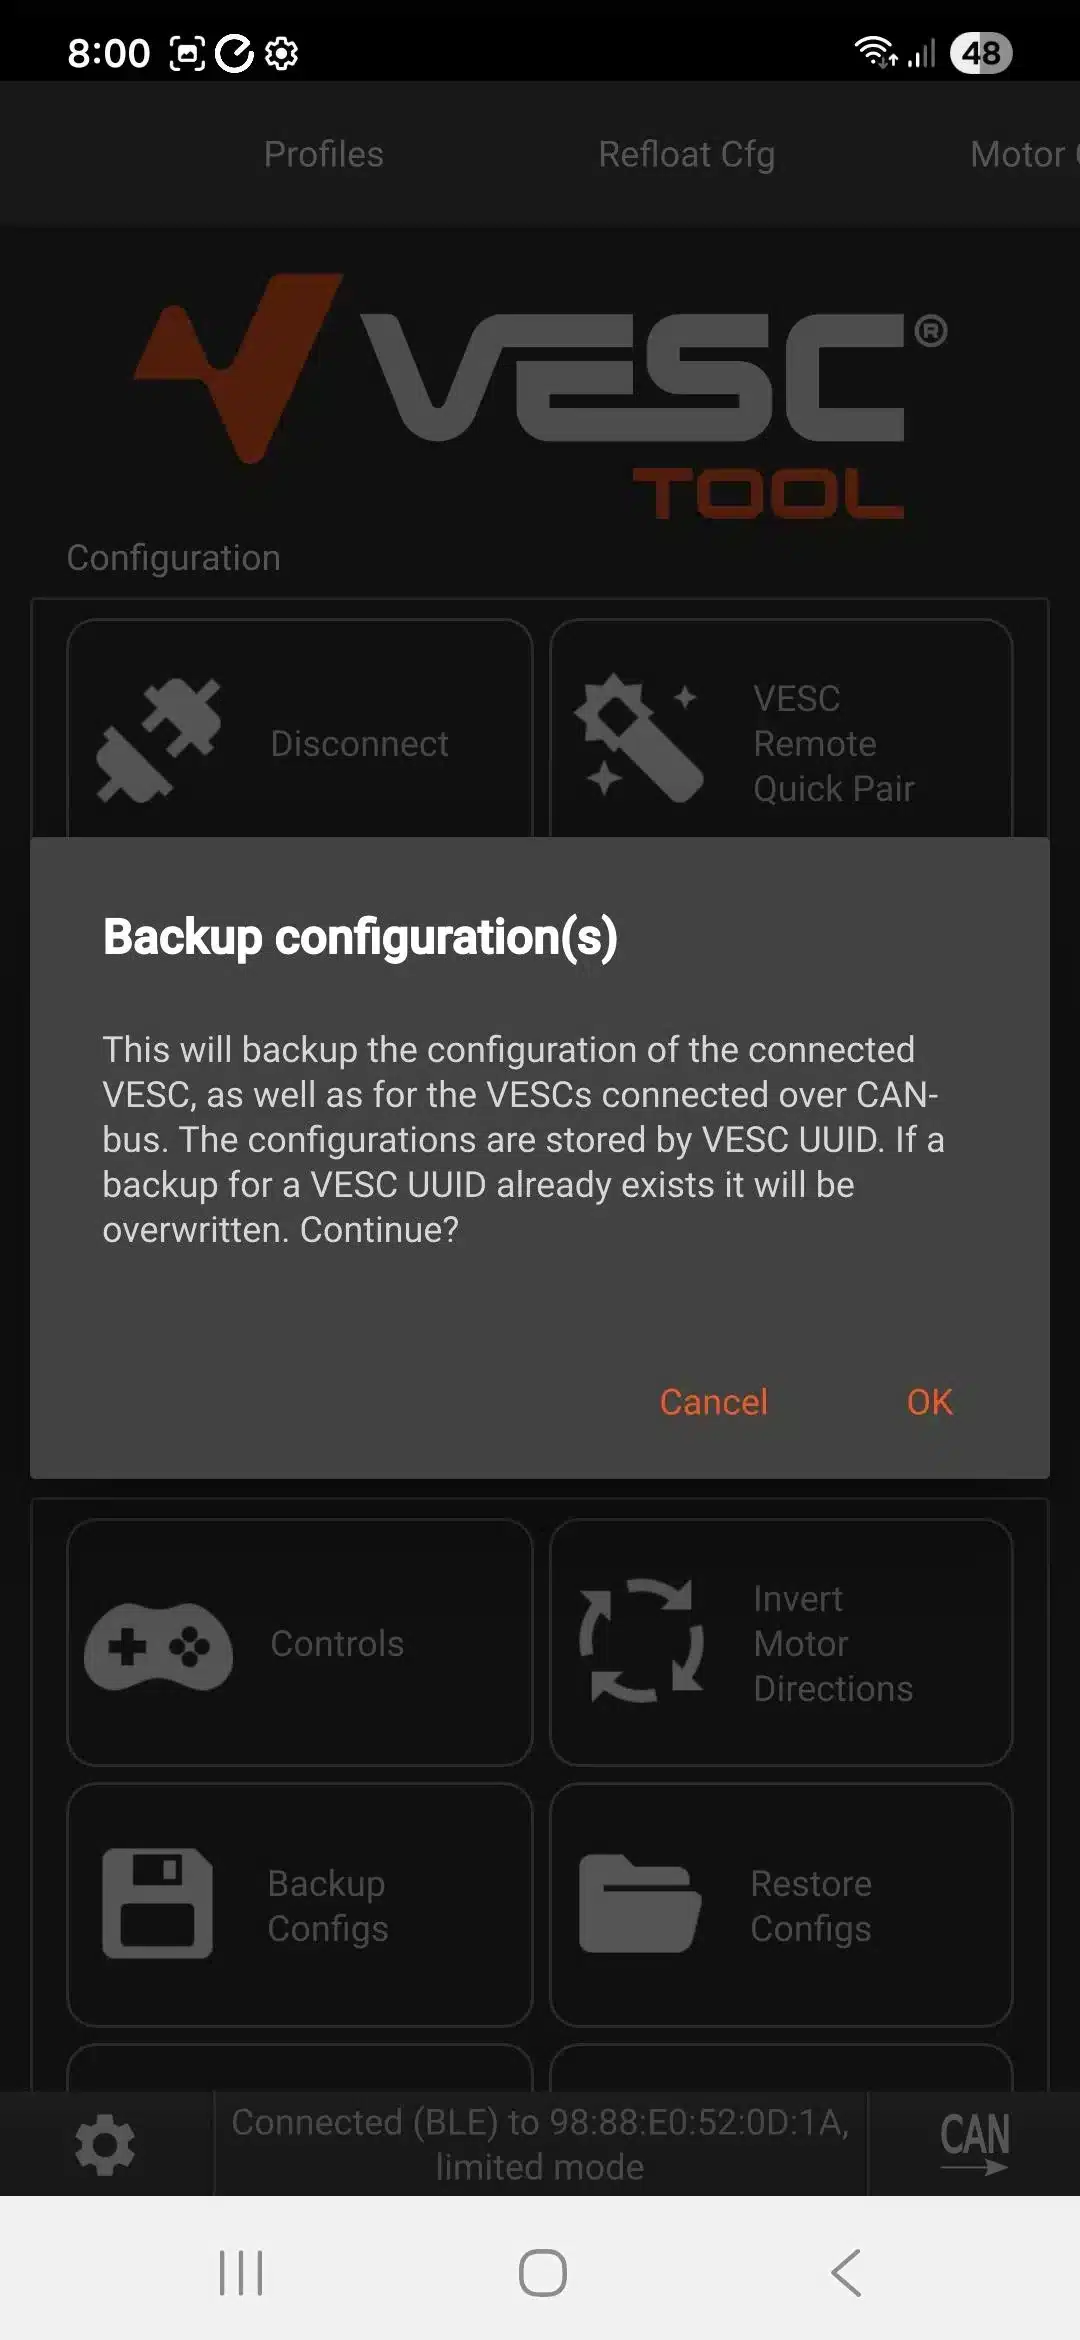
One key feature of VESC Tool initially is to backup the default settings of the X7, so that the rider can always return to the factory settings if something gets misconfigured at a later date. There are two sets of configurations to backup:
- The initial Start menu (at top) has a “Backup Configs” button to save the motor and IMU settings. If future configuration changes cause problems the factory settings can be restored by “Restore Configs”.
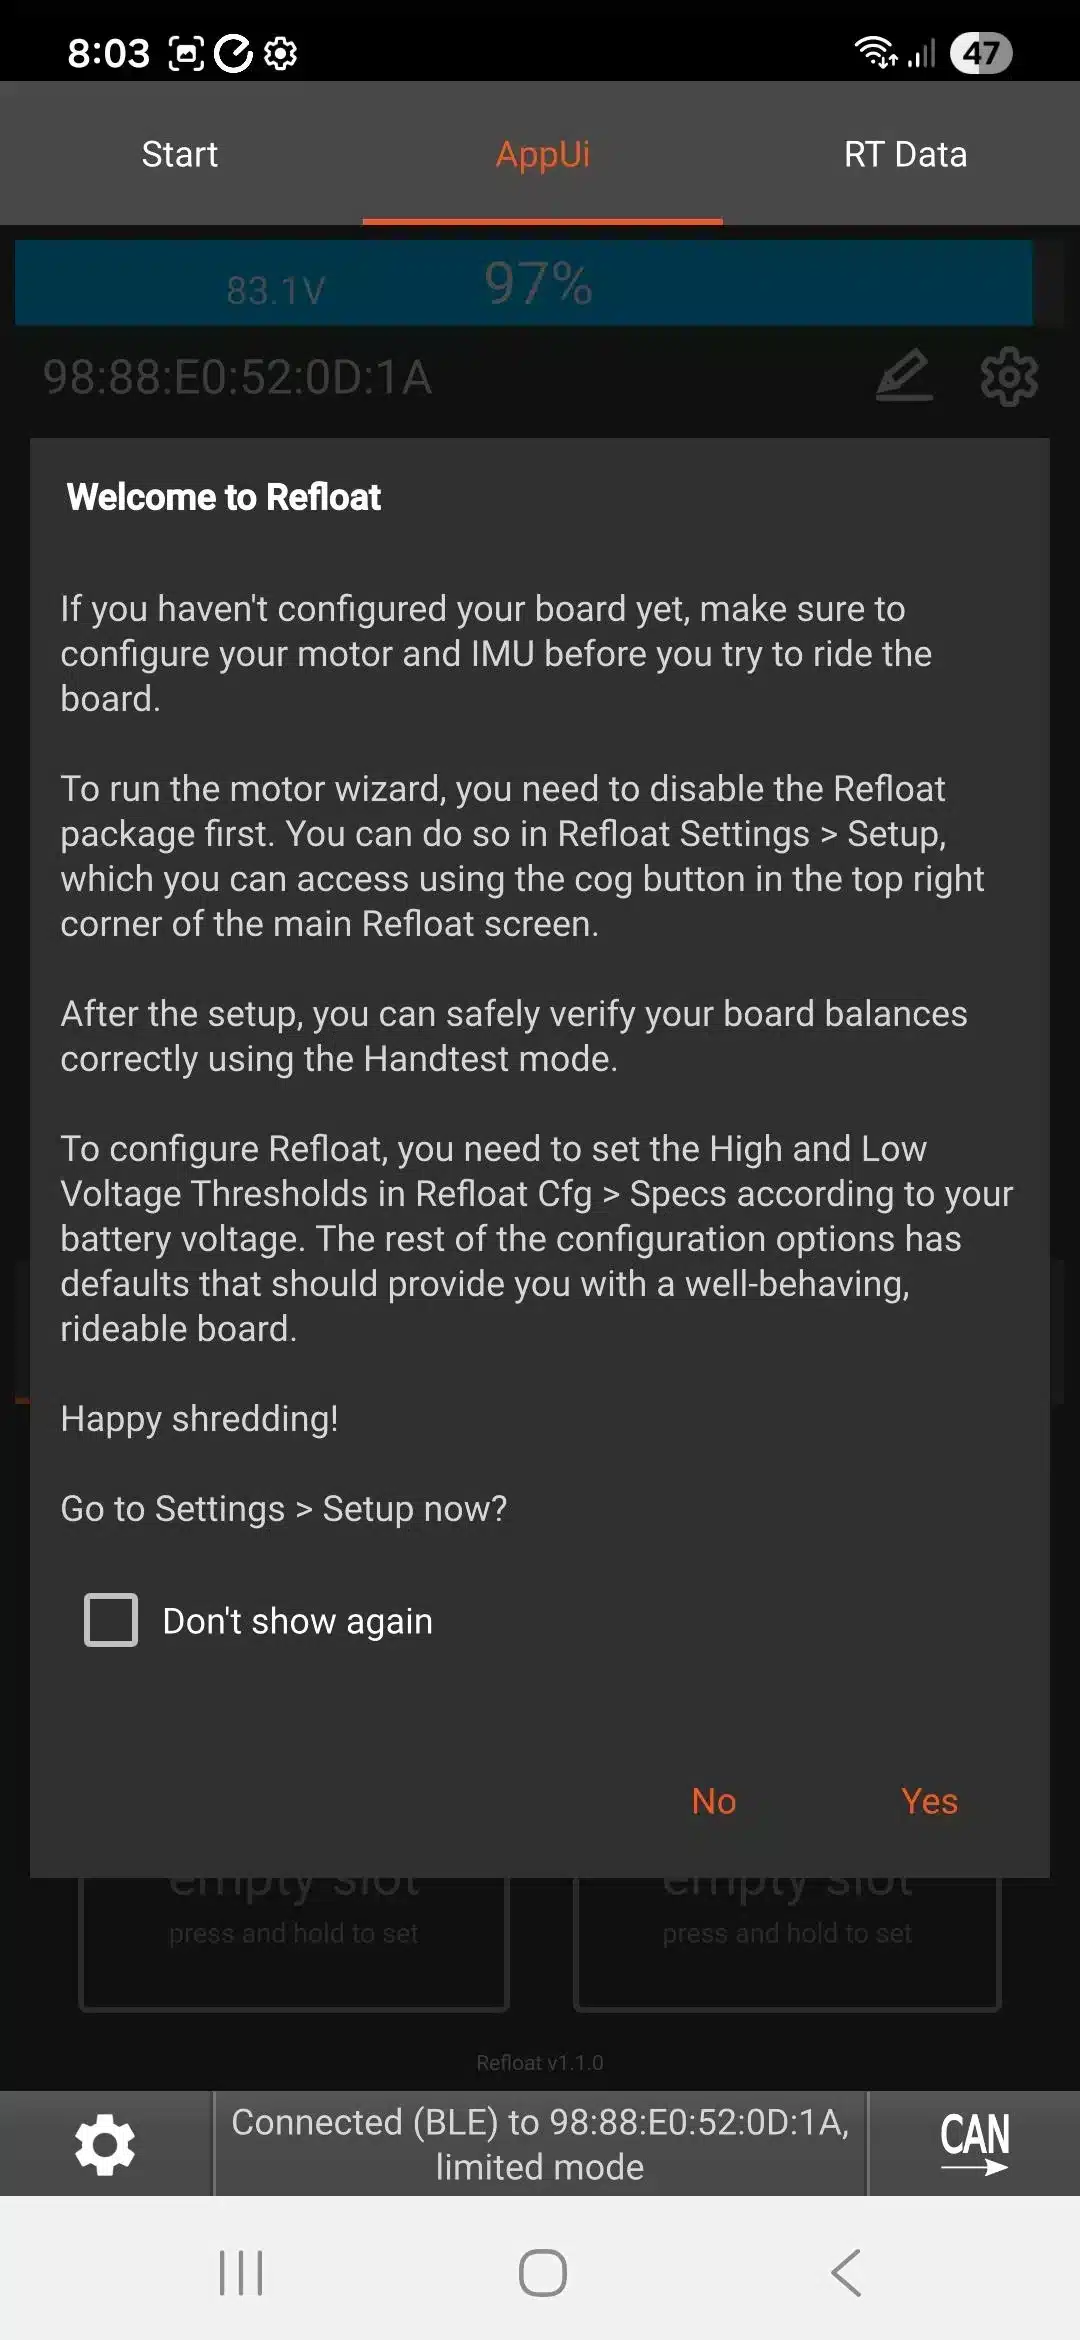
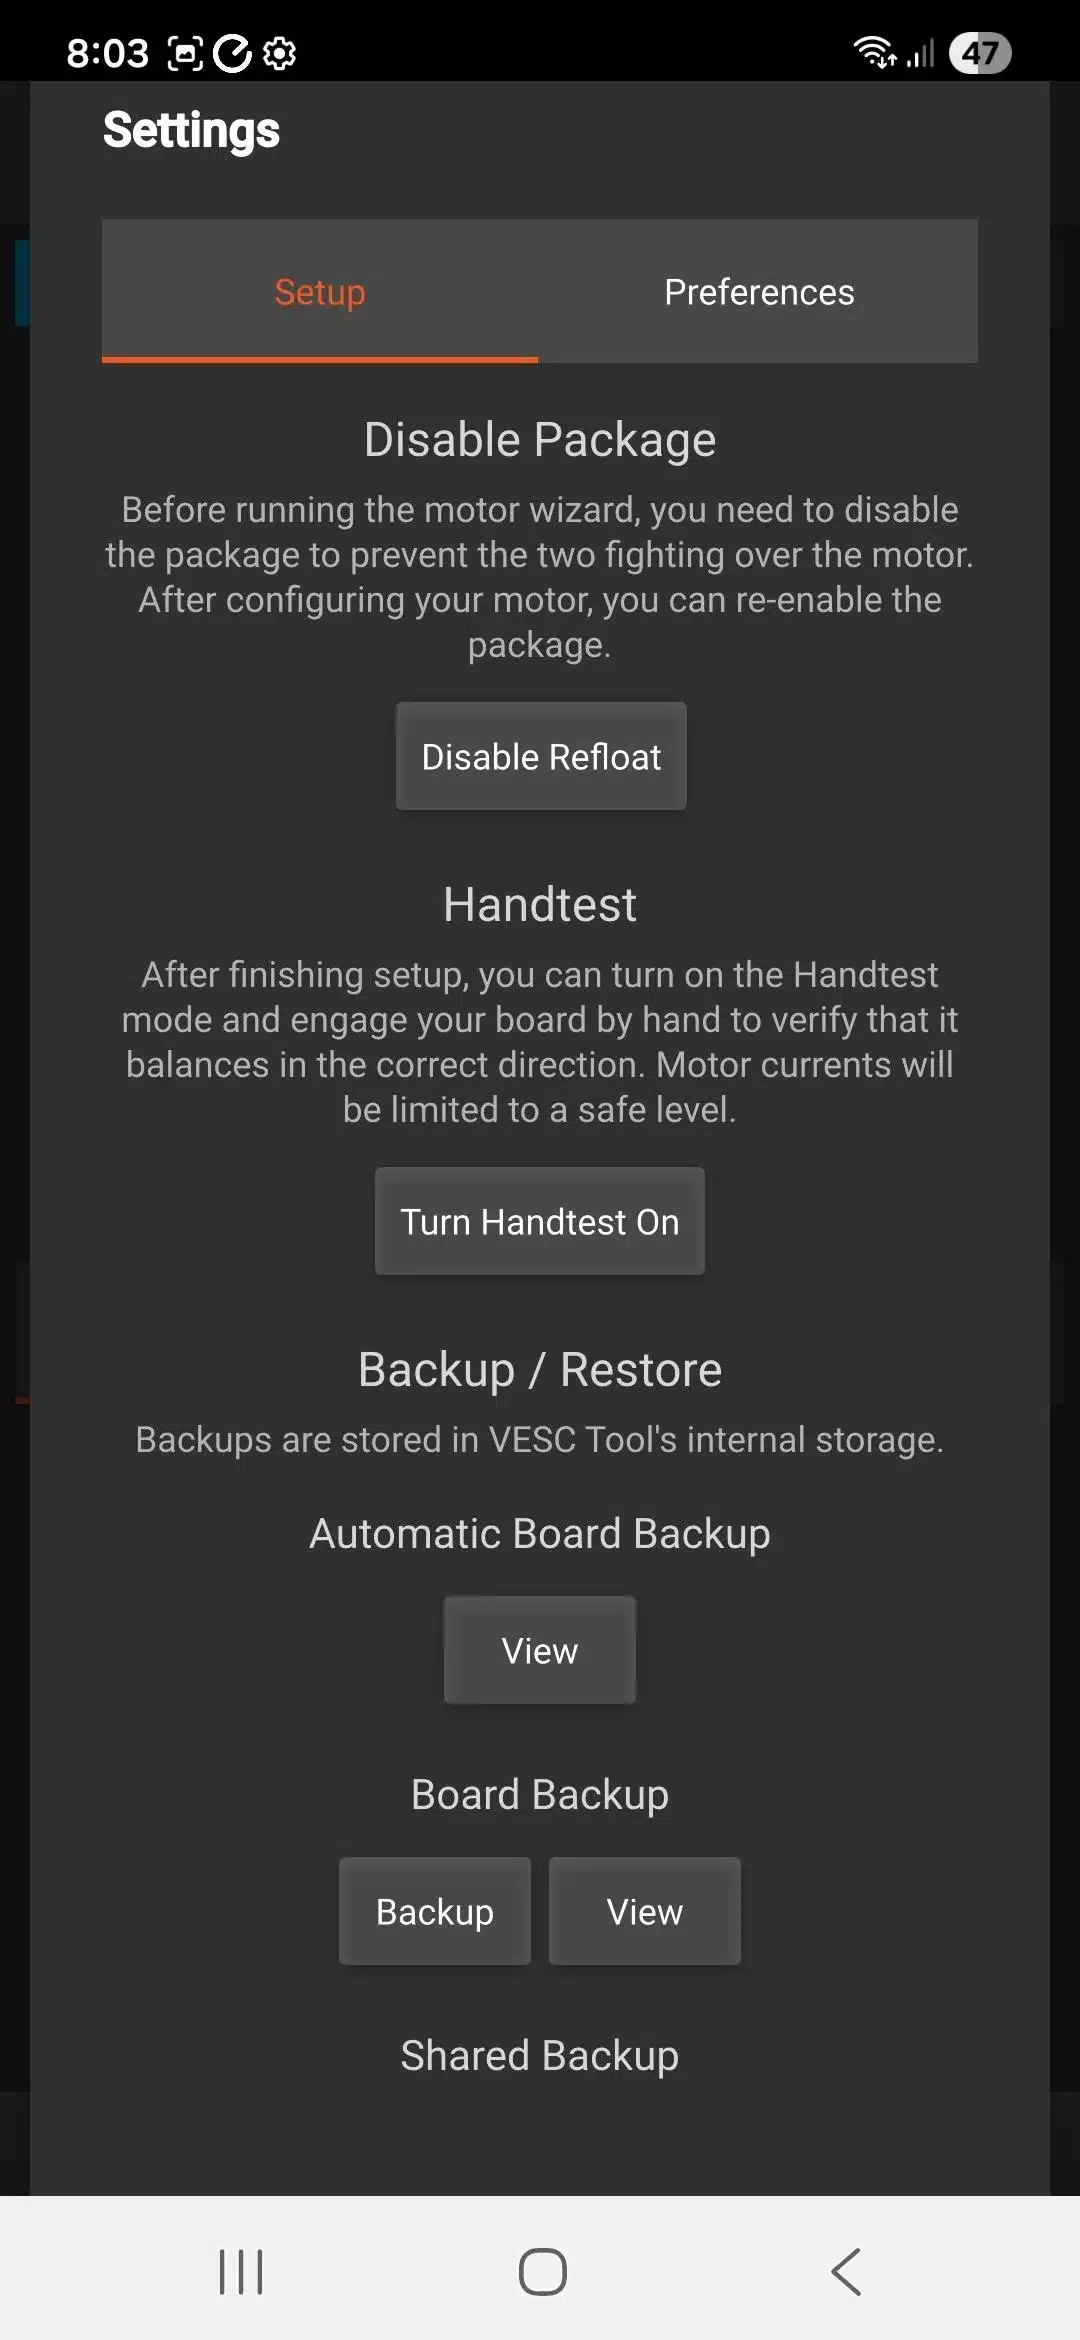
- The AppUI menu (scroll along the top to the right of Start menu) has an option to save all the Refloat-specific settings for riding a onewheel. Selecting the AppUI menu, a “Welcome to Refloat” message may appear and offer to configure Refloat (ensure you select “No” as it is already preconfigured). Click the Settings cog at top right and then scroll down to select “Board Backup” to save all the Refloat-specific settings.
Both sets of configurations get saved to storage on the VESC Tool app computer or mobile device, and override any previous backup saved for that X7 on that mobile.
Perform a Hand Test
The AppUI menu also has a handtest option where the motor power is significantly restricted so the board can be gently tested by placing one hand on the front (both sides of the footpad sensor to activate it) and the other on the rear. This allows the operation of the board to be safely tested before anyone tries to ride it and avoids risk of a powerful board shooting off due to some misconfiguration.
Remember to turn off the handtest when satisfied the board behaves normally, after checking the footpad sensors and motor engagement and disengagement work as expected. Then the handtest can be carefully repeated again, but ensure there’s nothing directly in front or behind the board in case its given too much acceleration by hand. Many people have dents in walls etc from testing onewheels too close to other objects.
Check Whether the Footpad LED is Reversed
One peculiar setting which might be misconfigured in the factory is where the footpad sensor LEDs show the left and right footpad activations swapped around (the right/left LEDs show blue when the opposite left/right footpad is activated).
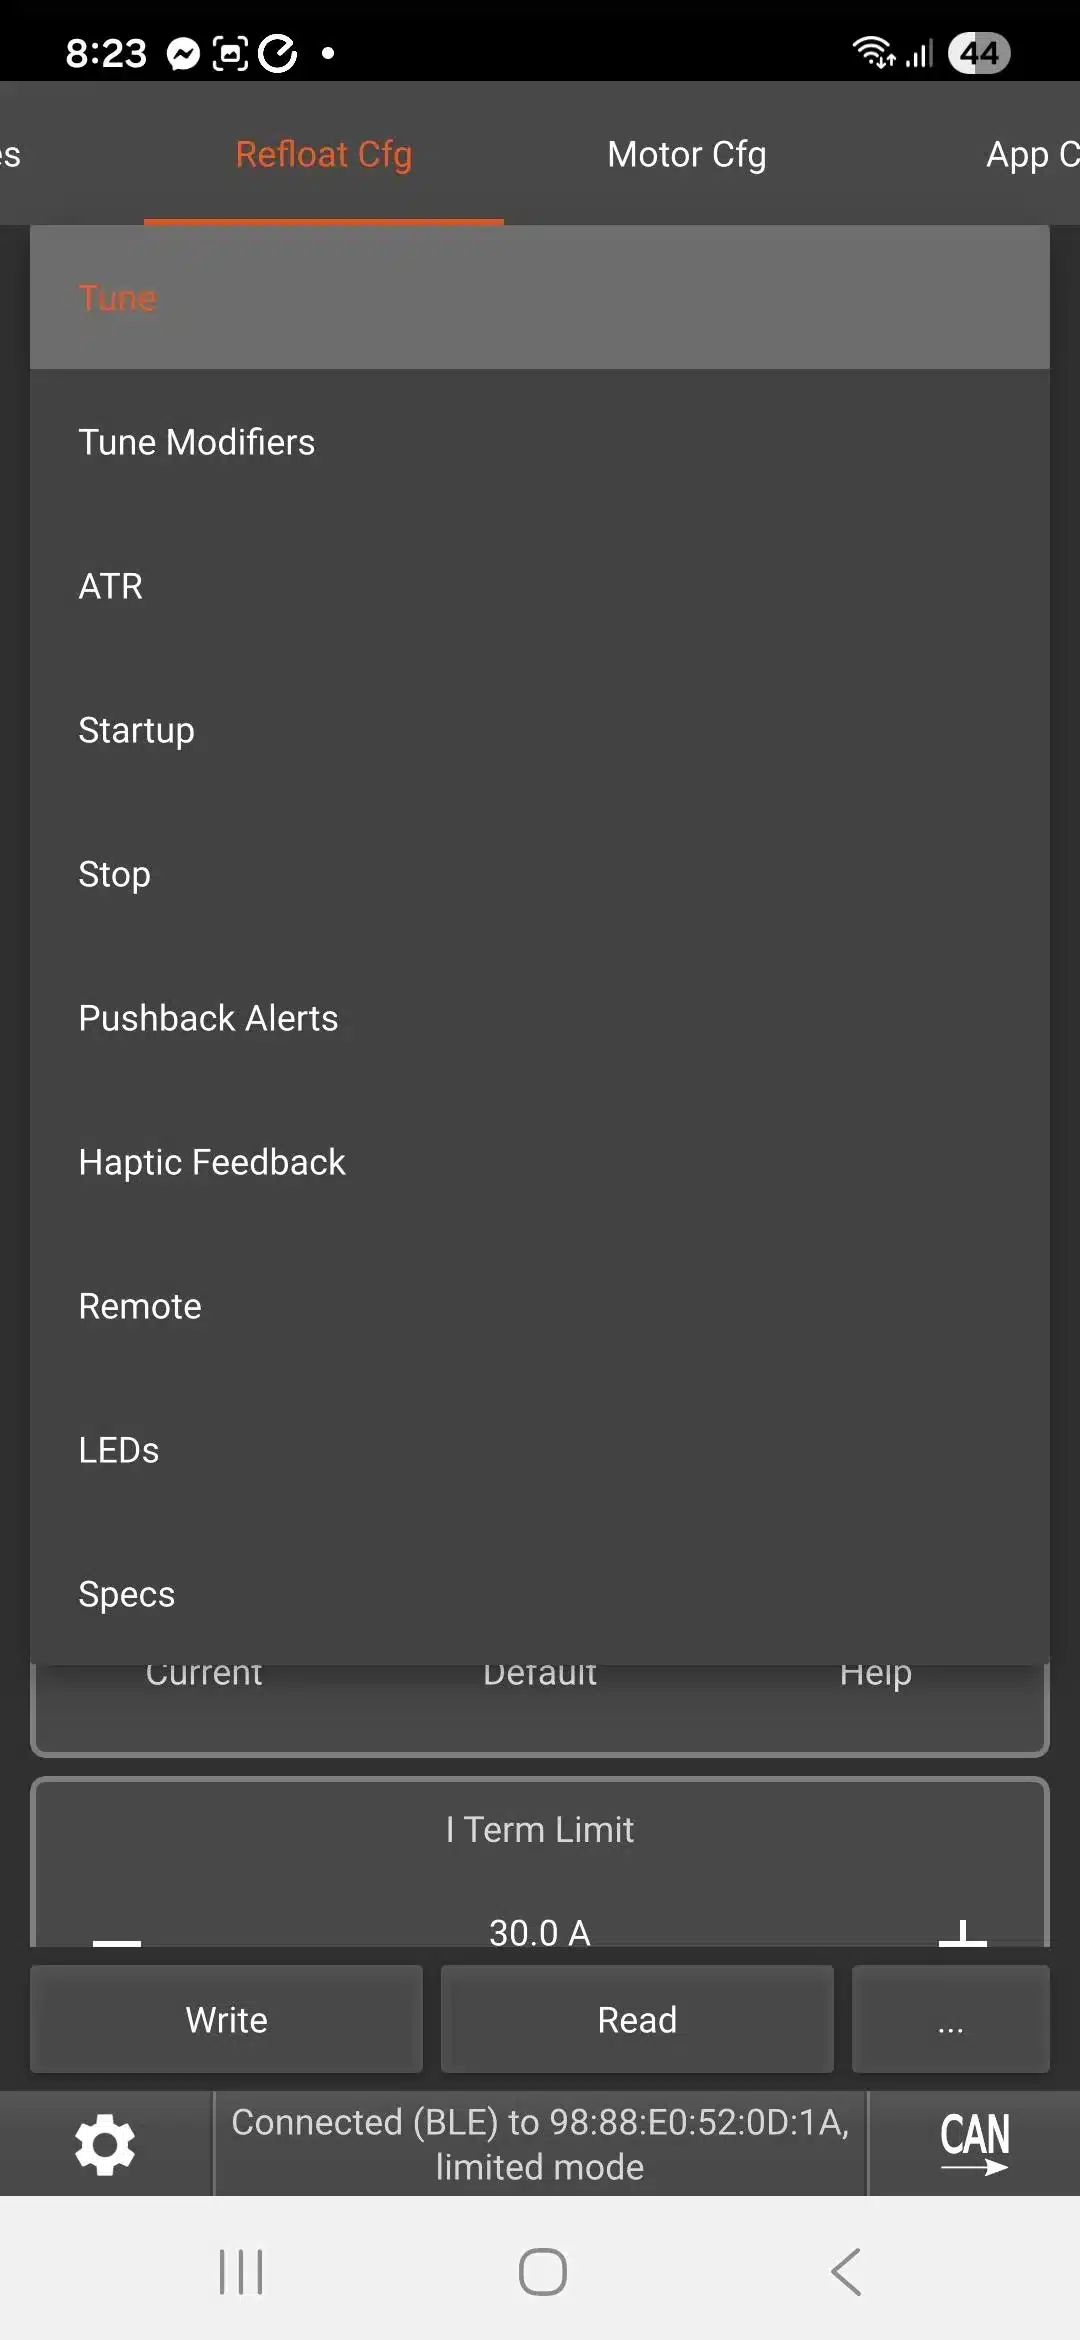
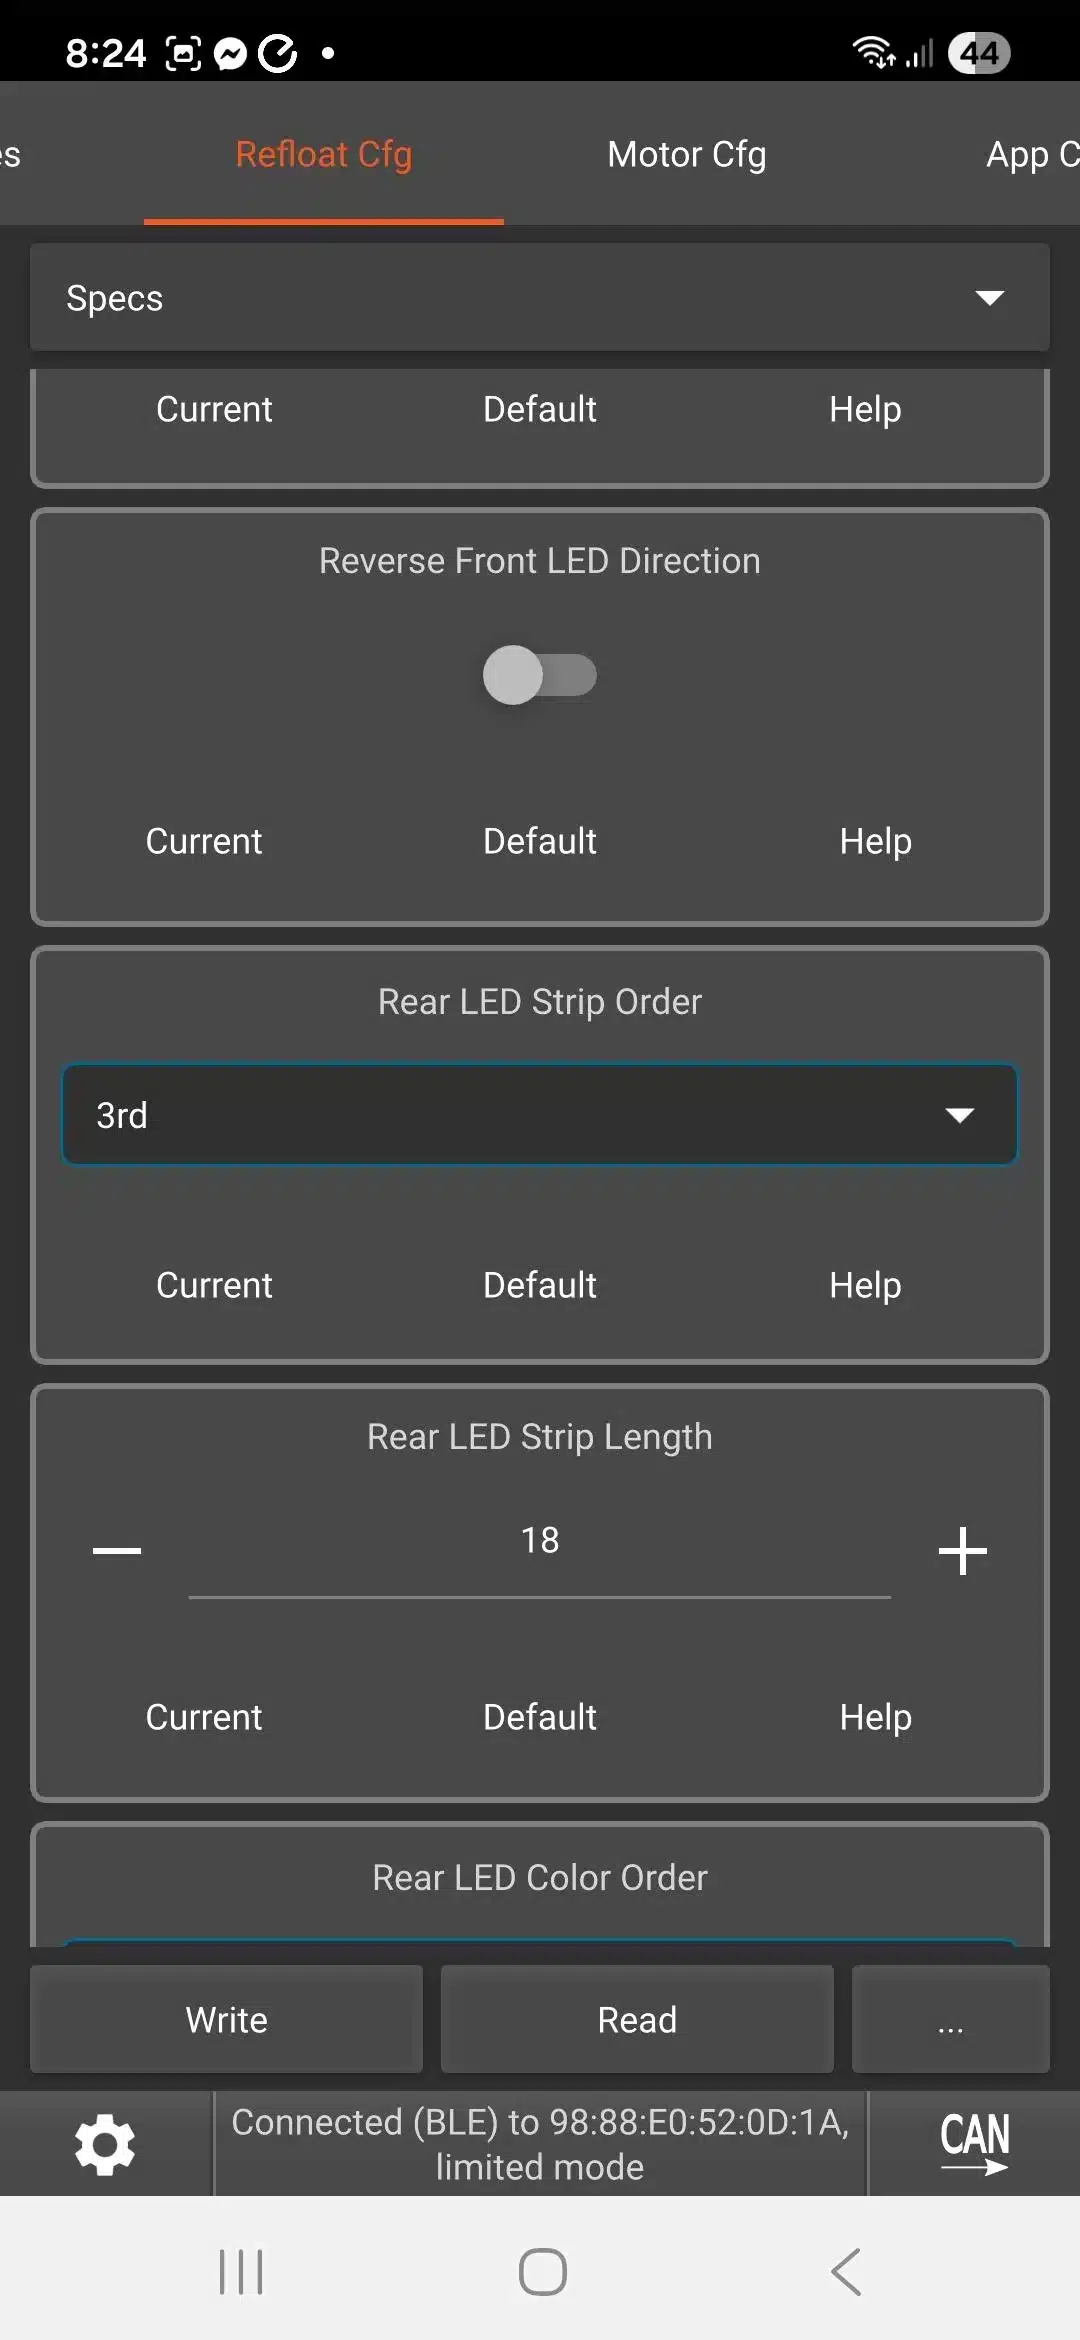
If your X7 comes like this it can be easily fixed in the Refloat Cfg menu (scroll further along the top to the right) under “Specs”. If the “Reverse Front LED Direction” appears checked then just select “Default” and save settings. When the board is restarted the LEDs should then be in the correct order. Newer Refloat versions have removed this reverse LED option so more recent X7 builds might not have this issue.
Other Menu Items
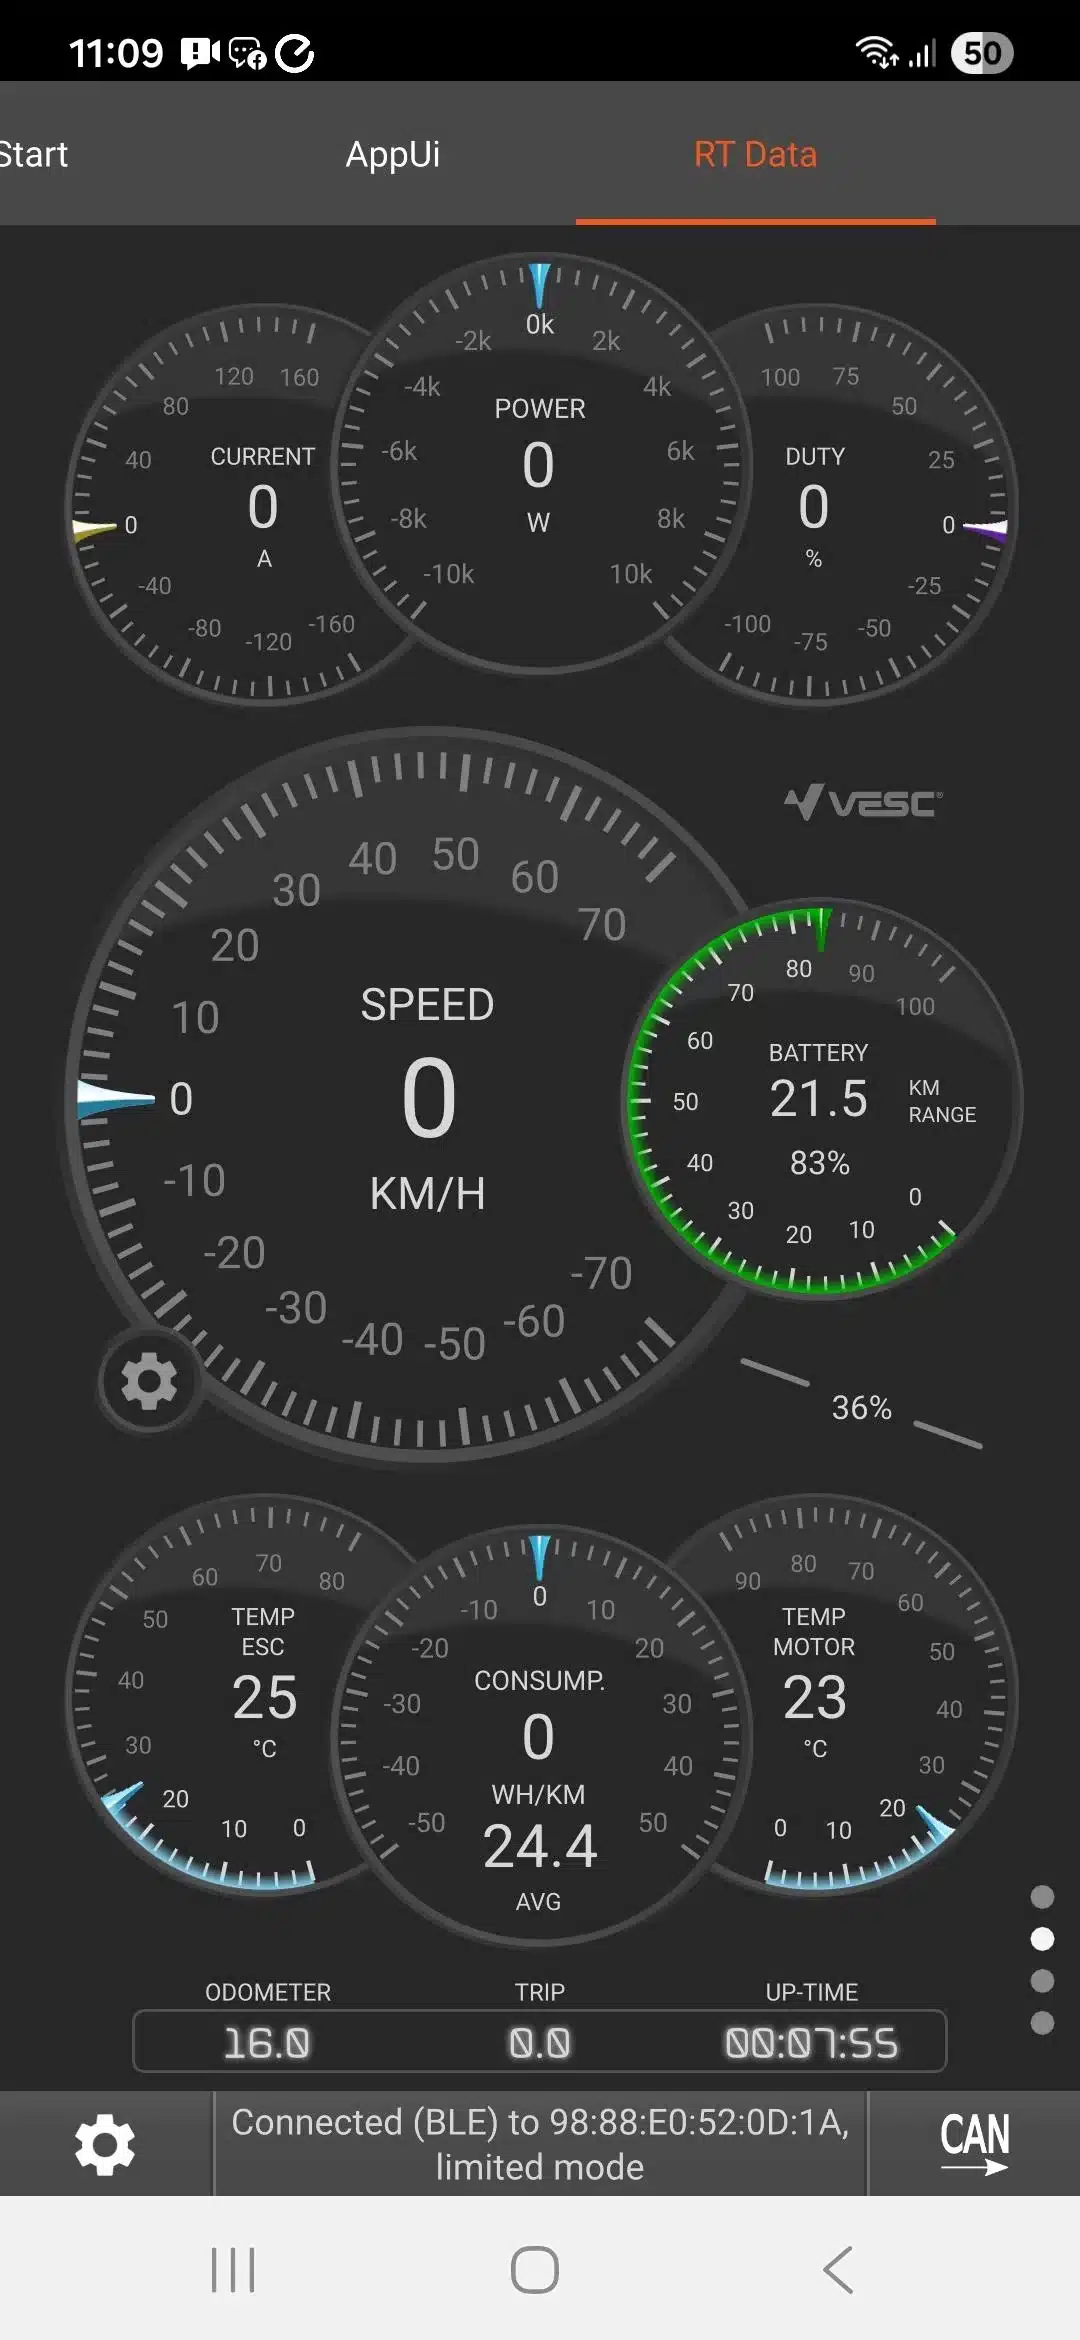
VESC Tool has useful information on other menu screens worth exploring, including the RT Data menu for displaying information during a ride, and the important BMS menu for viewing battery cell voltages to check for imbalanced cells and whether any cells excessively sag under load.

Ride App
The RT Data menu of VESC Tool can be used as a ride app on VESC boards, but typically VESC riders instead use either the Floaty on Android, Floaty on iOS (free, both written by Simon Wilson aka siwoz in New Zealand who also created the Pubmote remote control for onewheels), or Float Control (US$3.99, written by Dado Mista aka surfdado in the US who has been instrumental in the VESC community). Once Floaty or Float Control is installed enable Bluetooth and grant the app permission to use Bluetooth on the mobile.
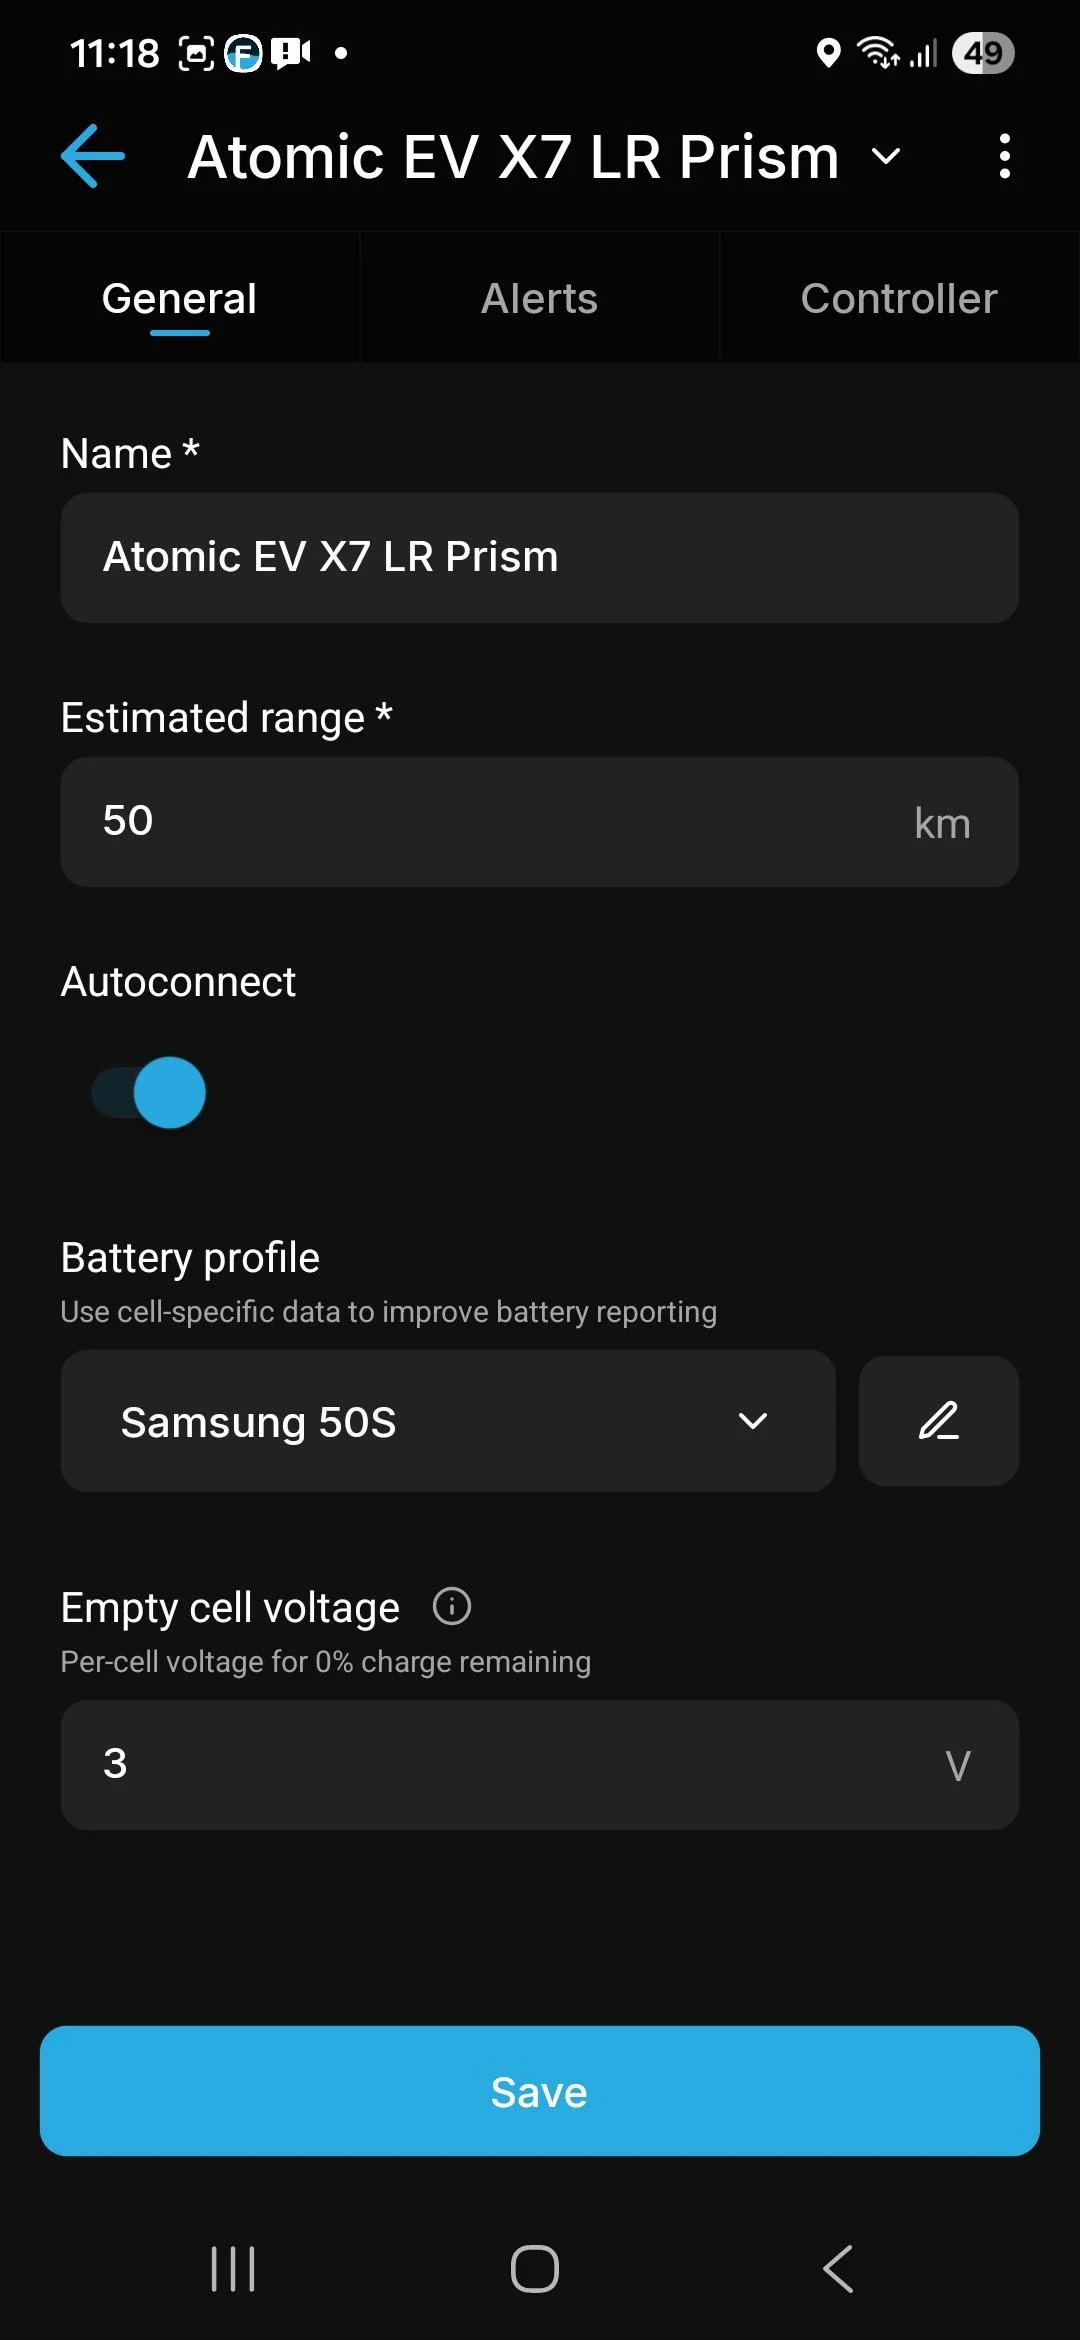
When the ride app connects to the X7 it may ask for the initially estimated range (try 30 km for Sport, 50 km for Long Range, 35 km for Supercharged), and the battery type (Molicel P30B for Sport although if not an option use P28A, Samsung 50S for Long Range, Molicel P45B for Supercharged) so that it can better estimate the battery capacity at different voltages as it drains during a ride. The range estimates will improve as the board gets ridden.
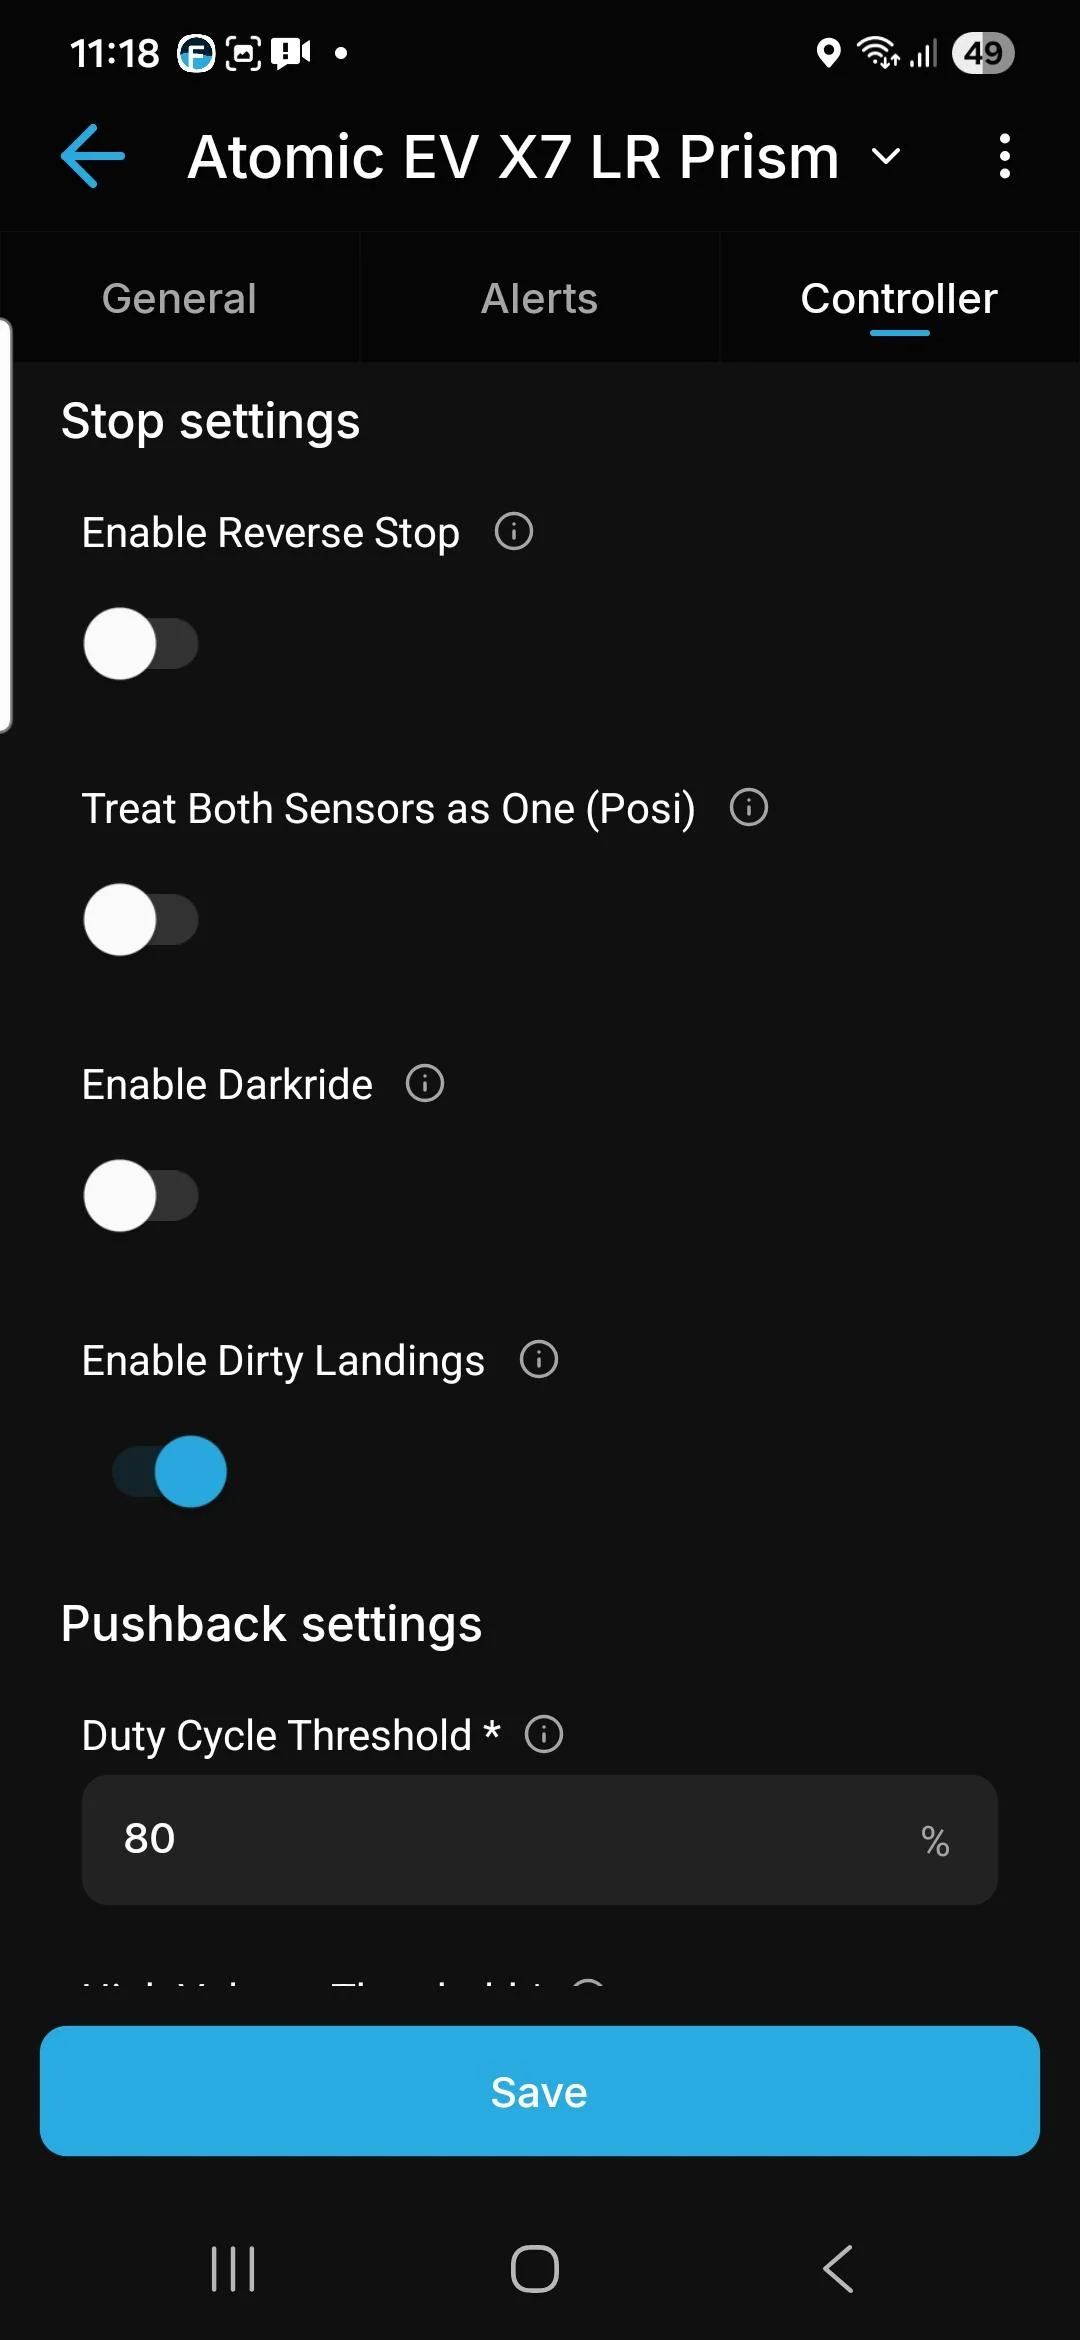
For example, Floaty displays the real time ride data on the main screen, and has a settings clog in the top right whose General settings tab allow the board to be named, and its estimated range and battery type to be specified. It also has a Controller tab for configuring start and stop settings. In particular for beginners who are still perfecting the heel stop to disengage the motor, it can be helpful to select “Enable Reverse Stop”. Reverse stop disengages the motor whenever the board starts to move in reverse, but of course means the board cannot be ridden backwards. Float Control has similar functionality, and its reverse stop can be enabled by clicking the setting icon at the bottom right, then the three dots icon, then the Stop Settings button to show the stop options, including reverse stop (and then click “Apply Now”).

First Ride
Once you’re confident the handtest shows the footpad sensors are working correctly, and the motor engages and disengages as expected and a decision made on whether to enable reverse stop, then its time to grab a helmet (and ideally too wrist protection and pads) and select a suitable outdoor spot away from hazards to try riding the X7 (and not from the top of a steep hill if the X7 is fully charged).
By carrying a mobile with the ride app connected to the board you can track the ride and obtain ride logs in case something does go unexpectedly. In addition to showing real time data such as speed and battery capacity during a ride both Floaty and Float Control display the Duty Cycle. Duty cycle is a measurement of what percentage of time the VESC is supplying current to the motor to keep it turning (percentage of time the pulses to the motor are on). If the duty cycle reaches 95% percent then the motor can no longer keep up to the demands placed on it. Riders should keep aware of the duty cycle, particularly once it reaches higher than 80%, where by default the ride app will give alerts.
What Not to Worry About
A few final points to note:
- Don’t be worried by the red light scrolling on the footpad sensor LEDs when the board is sitting idle – its a throwback to the KITT car from the 1980s Knight Rider TV series and can be modified.
- You might hear a double beep every four hours, even while the X7 is powered off. The X7 BMS periodically wakes the board up to check on the status of the batteries (this can be made less frequent using VESC Tool by changing the CAN connection to VBMS instead of Thor301 and then under the VESC BMS menu increasing the Sleep Time Regular time).
- The power button is a momentary switch rather than a latching switch and is designed to be held down for a second to power on or off the board. This is an important safety feature as it reduces the risk of a accidental bump inadvertently turning off the board during a ride.
- On the underside of the footpads is a cavity designed to accommodate an Apple AirTag, very useful if you’re concerned someone might want to enjoy your X7 instead of you. It would need a little DIY to instead accommodate a Samsung SmartTag2 but the controller box also has spare space.
- There are a myriad of configurations for the X7 and configuration tunes to choose between, and you can enjoy riding while you’re still getting your head around the basics.